I figured I would start 2018 with a new post about what I do in my slow part of the season. During the winter months when no one is typically shooting outdoors, I revisit old work. Sometimes I cringe and ask myself “What was I thinking?”, but even so, I like to take time and try out new editing techniques.
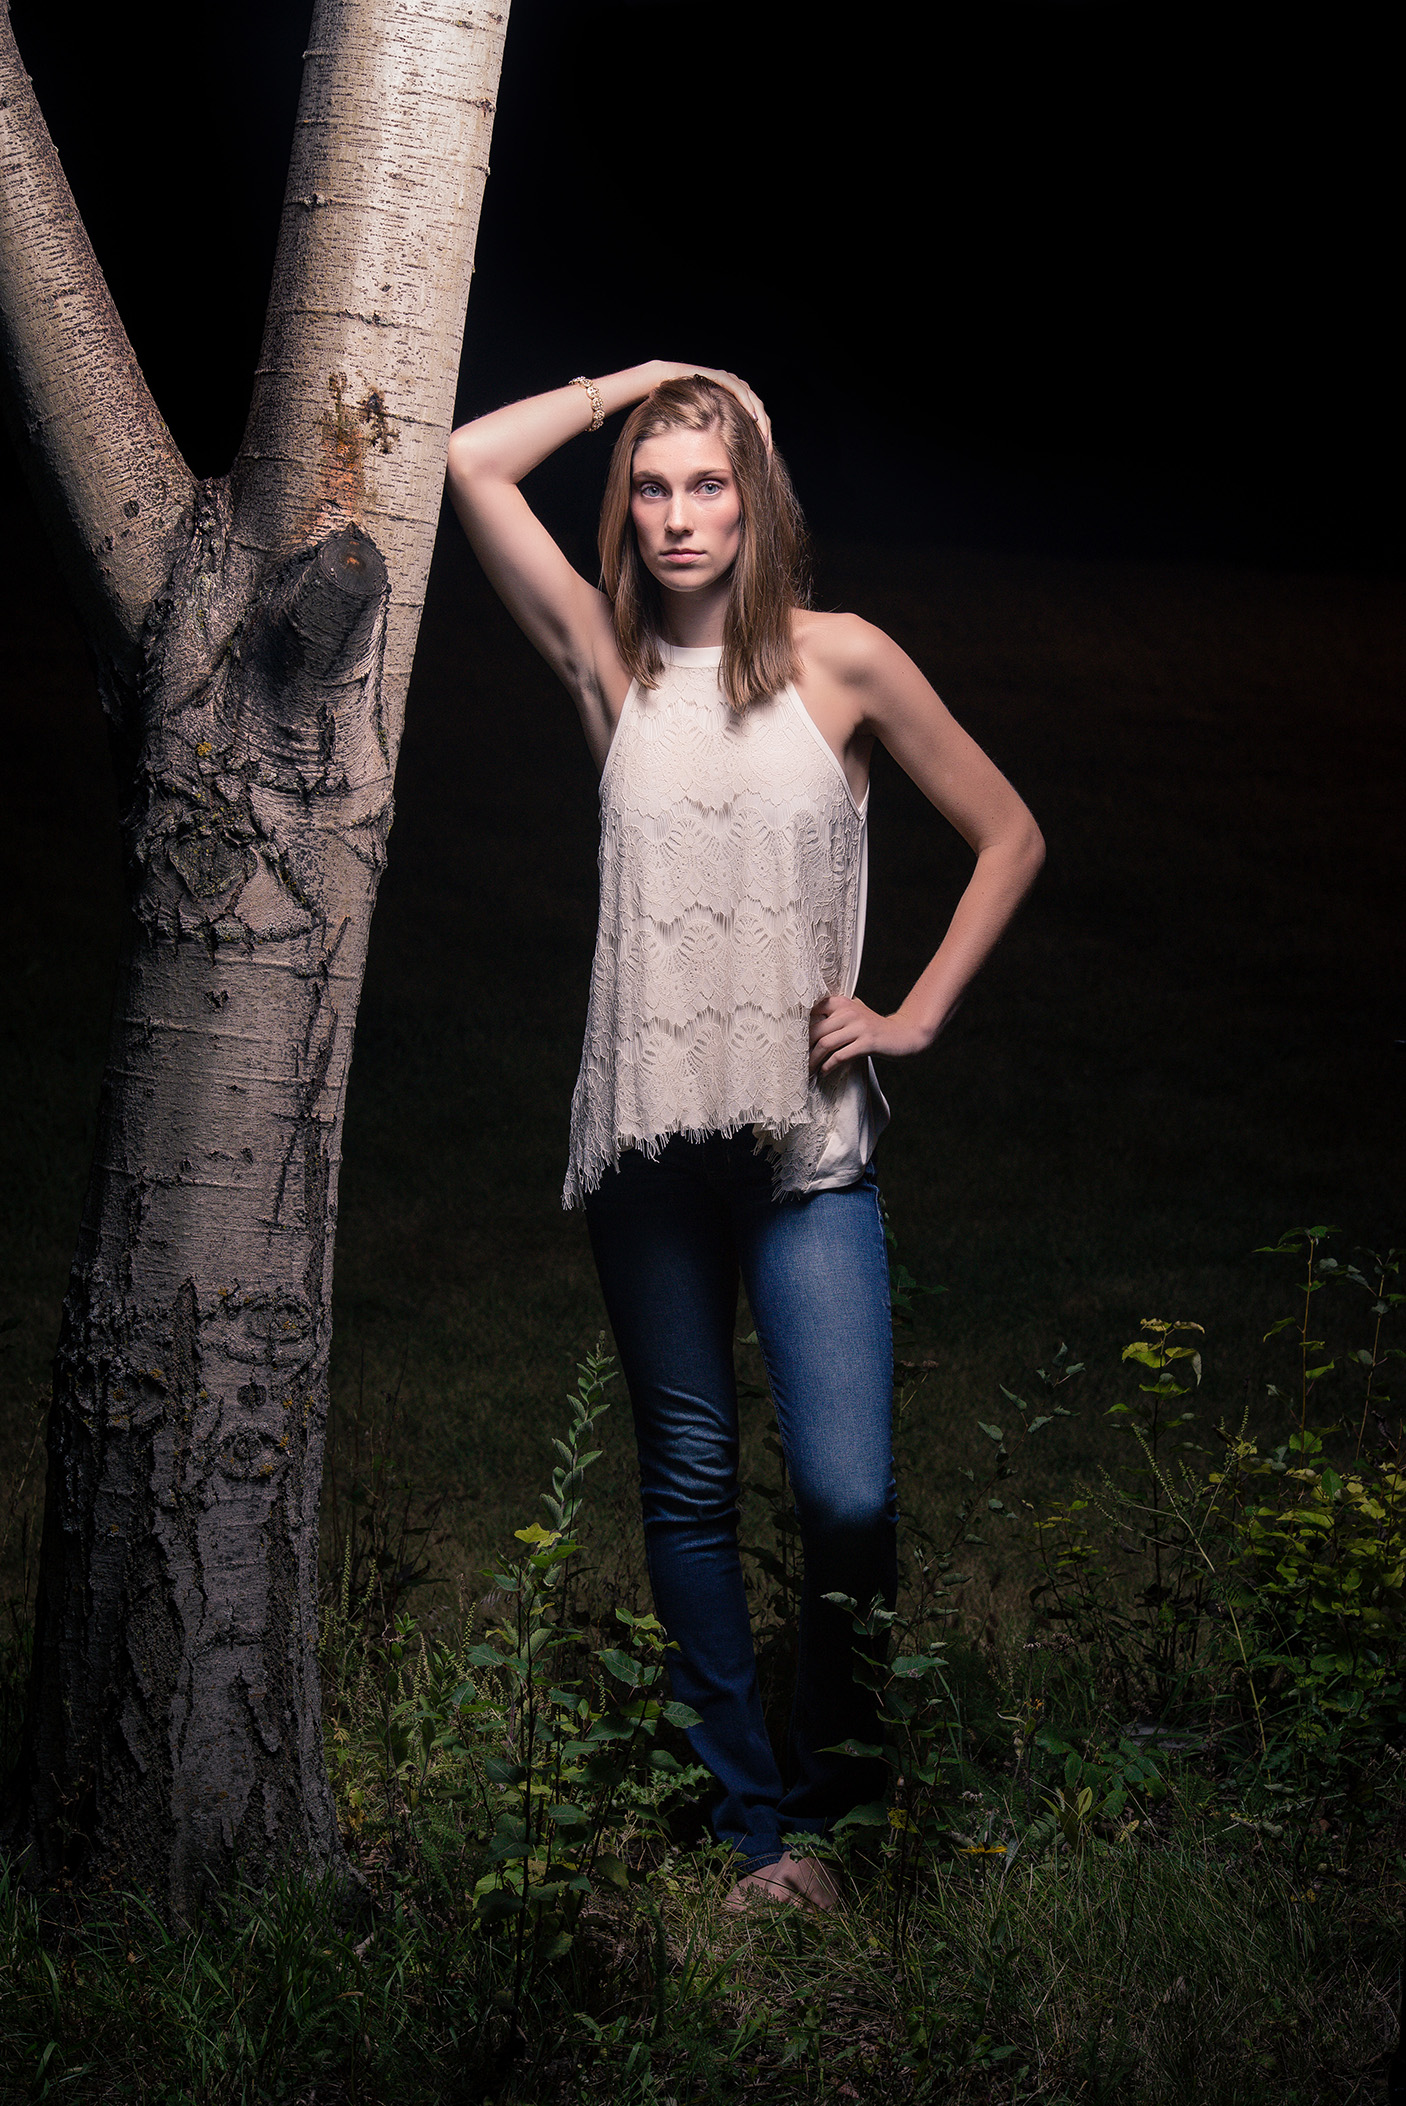
Postprocessing, is often argued to be just as important as getting “the shot”. Our goal should always be : Get as much right in camera as possible. We want to eliminate as much work/time as we can “fixing” in Photoshop. The images I tend to revisit are what I would consider my favorites. No need to remove this, tuck that, smooth this…all the stars aligned and I got “the shot”. For me there is always at least one in every session I do, like the image below:
Something about this photo keeps pulling me in and I can’t help but think “What can I do from an editing standpoint to really make this photo more”. It’s not that I think it’s a bad photo, quite the contrary. It’s just that I am constantly trying to push myself and continue to improve. It’s all about putting my distinctive touch on it and designing my own style. So, I dust off the drawing tablet and get to work.
So for this exercise we will be using the photo above. Let’s see what we can do to add a little extra “oomph”.
I take time to really try to dissect the image as best as I can. Let’s start with my subject. She has great lines. Her arms are well defined, her cheek bones, jawline, and her shoulder. She exudes a powerful presence, so how do I further show that?
Contrast – No, I do not mean the “Contrast slider”. For me personally, I forget a contrast slider even exists for portraits I light. In this case you can see she has very fair skin, and if I tweak contrast using the slider, her skin is going to go nuclear white…not exactly what I want. What I want is to more clearly define the shadows her muscles and bones are creating.
So I throw a Black and White adjustment layer on top of the original and set my blend mode to “Soft Light”…why? Because it gives me nice contrast without going nuts. Everything I do is using adjustment layers. You just can’t go wrong with them. After getting my layer setup, I tweak each color on the panel until I get the look I want.
With Contrast locked in, I take time to start color toning the image. I’m not going to get into that in this post, it’s a long process that I am just really starting to delve into. Look it up on Youtube, there are far better people at it then me.
For toning, what I did was moved some extra magenta in to tone the greens down a bit more, pulled the green down from the grass around her, toned the tree back a little bit so it wasn’t competing with her for attention (it was similar color/brightness to her skin) and finally added some additional blue to her jeans to get them to pop a little.
Here is the end result next to the original:

Me personally, I like the 2nd image just a bit better, but that’s just me.
Images can (and probably should) be revisited to try and pull a little extra “something” out of them. Of course, it’s up to you as a photographer if you want to or not. I figure it gives me a chance to try out some stuff that I may want to use in the future. That’s it for now. Take care!